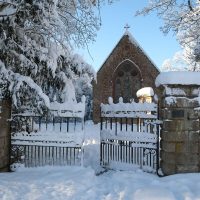
Foggy conditions can tranform almost any setting into a beautiful, mysterious or ominous scene. Photography in fog can be hugely rewarding if you get it just right. However, there are some adjustments needed to your photo technique if your finished pictures are to capture what you actually saw with your own eyes.
Why is photography in fog so difficult?
On a foggy day, the air fills with tiny water particles. These scatter and redirect the light rays. This means that there are no hard shadows and the light appears flat. Subjects lose the ‘3D’ effect created by those shadows. If you think the light can be flat on a cloudy day – it’s even more so on a foggy day.
Those misty water particles also have the effect of taking away the colour of a subject. Colour saturation can be drastically reduced.
TIP – Check your lens constantly when working in fog – those water particles will condense on the glass. Keep it clear!
Focusing problems
You may find that your camera’s auto-focus system will not work when taking pictures in fog. Your lens may ‘hunt’ as it tries to take a ‘grip’ on something on which to focus. Depending on how it is set-up, your camera may even lock and prevent you from firing the shutter. This happens because foggy scenes are so lacking in contrast that the camera’s auto-focus technology can’t cope with it.
The solution is simple – turn your auto-focus OFF and set it to Manual. Yes – you’ll have to use your fingers to turn the focusing ring – just like we had to do before auto-focus was invented. Fingers work every time.
Getting the right exposures in fog
It stands to reason that the overall light levels will usually be reduced on a foggy day. So you will need to either slow down your shutter speed or increase the size of your aperture to allow in more light.
For some static scenes it’s best to use a tripod and a slow shutter speed. For scenes that include moving people it may be best to increase your ISO setting in order to keep a fast shutter speed. By all means experiment – take lots of pictures so that you can chose which you prefer later.
Fog is, strangely, highly reflective. Partly because of this, and because there are so few dark shadows in foggy condition, your camera’s built-in exposure meter can easily be fooled. It will read that there is more light than there really is. In exactly the same way that you must deliberately over-expose in snowy conditions, so you must deliberately over-expose in fog.
If you are using AV (Aperture Value) Exposure Mode, do this by increasing your exposure compensation by around + 1 EV (exposure value). If you are using M (Manual) Exposure Mode then increase your exposure by 1 full F-stop or by adusting the shutter speed to about double the exposure time, eg 1/100th sec becomes 1/50th sec.
Each situation is different and you may need to compensate even more or less. Again… experiment!
Shooting RAW
Of all the times when shooting RAW files can be useful, it really comes into its own when photographing in fog. Remember, with RAW files you can adjust not only your exposure in post processing, but also your colour balance and your colour saturation.
Picture compostion in fog
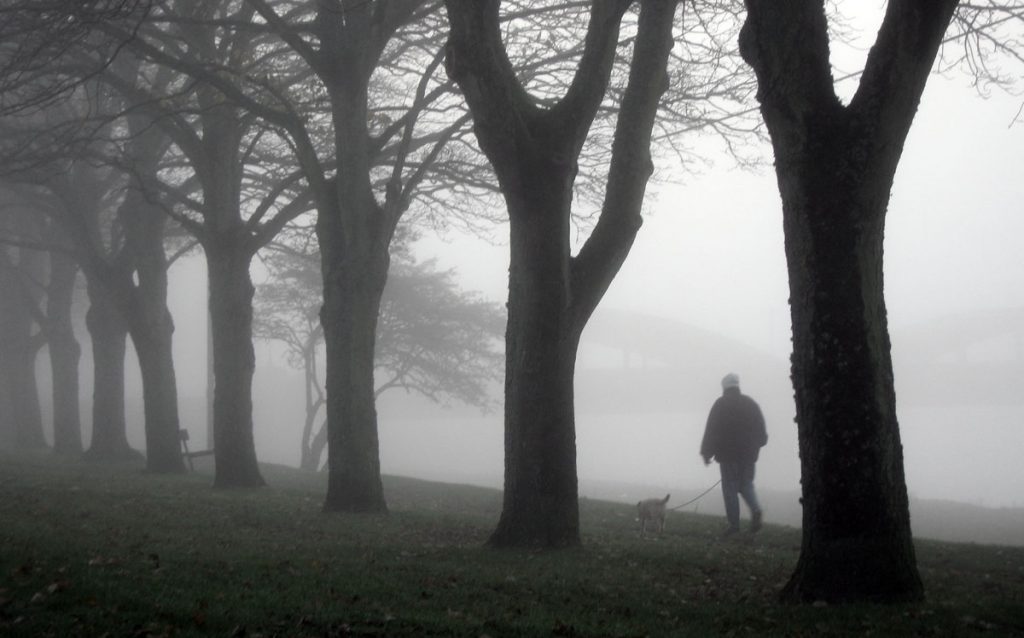
It is so often beneficial to include a good foreground in your landscape photographs. In fact, with photography in fog, a foreground is often essential in order to give any sort of feeling of depth within your picture composition. It all depends on the effect you are trying to achieve, though.
The nearer an object is to your camera the more distinct it will appear. It will have more clarity, contrast and colour saturation. As the distance increases, objects become more and more faint, indistinct and colourless. You must use this to your advantage.
Work within the limitations of the foggy conditions.
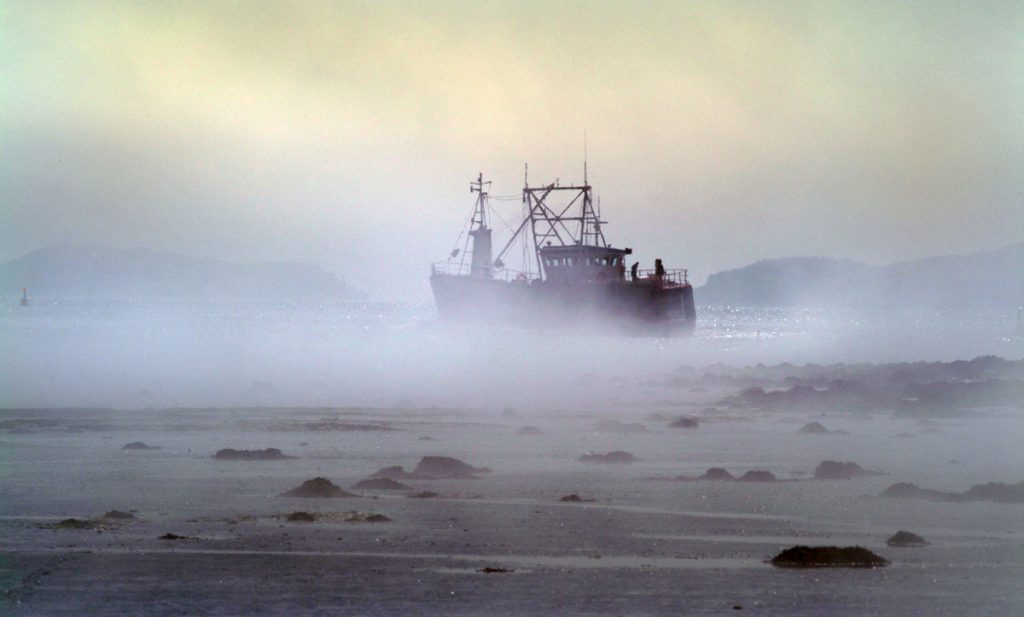
To improve your photography in fog, don’t try to get detail into a subject where there is none. For instance, if a subject appears as a silhouette, let it be just that. If you try to get detail in what few deep shadows there are on a foggy day, you will end up with some very washed-out images.
Rays of light
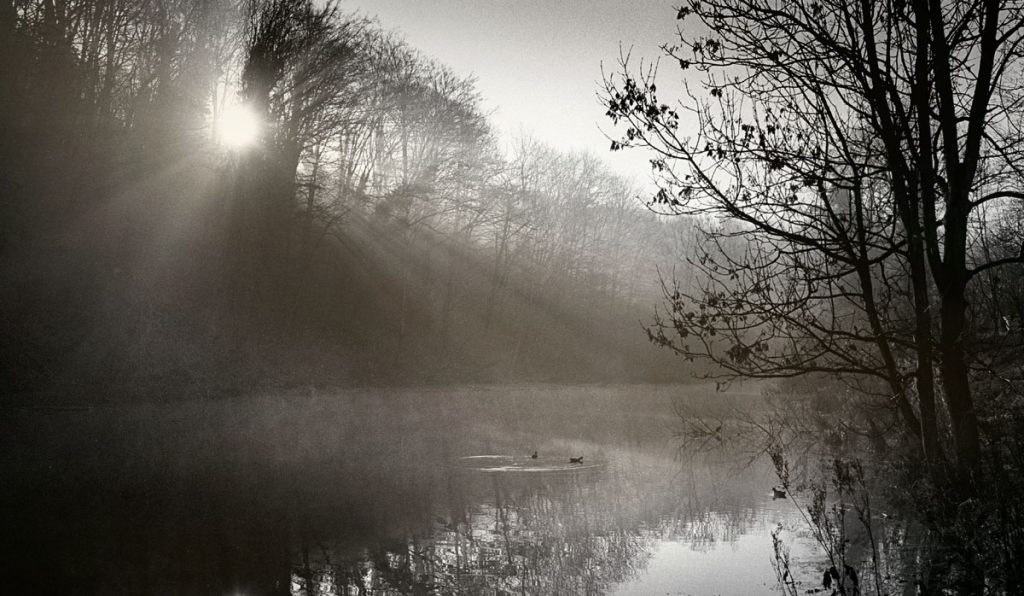
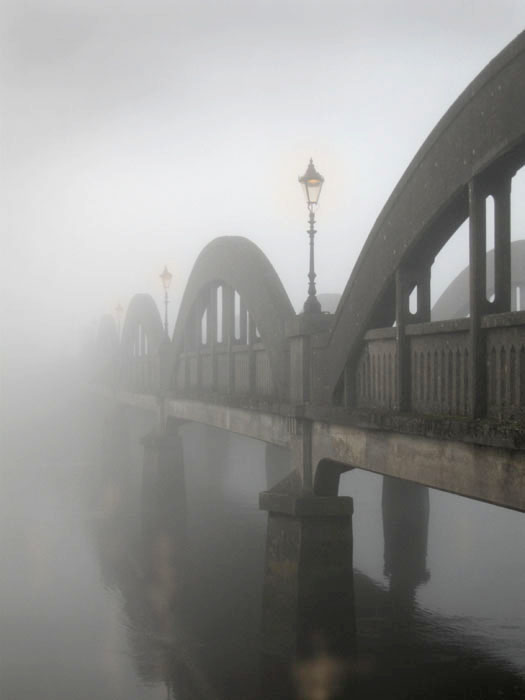
There’s a really fancy word for those beautiful light rays we see coming through the trees when shooting on a foggy day. It’s called ‘crepuscular light’. There are other words for it too: sunbeams, sun rays, splintered light, and – my favourite ‘God’s rays.
Whatever you want to call it, it can be beautiful, and all photographers love it when they find it. The light source, whether it is the sun, a car’s headlights or a spotlight, should be kept at an angle to the camera if you want to maximise its effect. Film makers often use this effect to create dramatic night shots – but they have powerful flood lights and fog machines to play with.
Philip’s TEN TIPS for better photography in fog
- Increase your exposure by +1 EV – or 1 F-stop or shutter speed.
- Focus your lens manually if the auto-focus function does not work in fog.
- RAW files enable ajustment of white balance and exposure in post processing,
- If shooting JPEGs set your White Balance to cloudy.
- Place an element in the foreground: fence, tree or other object to add a sense of depth.
- Don’t use a polarizing filter it will have little effect except to slow down your shutter speed.
- Check the front of your lens for condensation and wipe if necessary – often.
- If you are not using a tripod, increase the ISO to enable use of a faster shutter speed.
- Shoot into the sun, if it is visble, and try to find trees or other objects that form shadows and light rays.
- Try fog scenes at night and include street lights for extra drama.